Week 7:
Day 4

Understanding Letters

Language / Literacy

Large Group

Skill and Goal

Print knowledge, Letter knowledge
Children will understand the difference between single words and sentences. Children also will understand the sound of the letter B.

Materials
Needed

  • Chart paper
  • Marker
  • *Letter B card
  • Chart from Day 2
  • *4 letter B picture cards
  • Children’s letter journals
  • Writing tools—1 per child
  • List of children’s first names
    *Printables provided

Key
Concepts

Review:

  • Sentence
  • Period

Be Prepared: Beginning this week, Day 4 of each week that introduces a letter offers four picture cards that show different items that begin with the week’s target letter. Select two of the four cards for inclusion in the activity. Pictures of items that are likely to be familiar to some or many children in your group are best; the intent is to emphasize the beginning letter of the pictured item. You may wish to use the other two cards as Extra Support (see Scaffolding Tips). This week also begins the use of letter journals on Day 4. See the ELM User Guide: 3–5 Years for suggestions on efficiently distributing and collecting the journals, and on approaches to helping children write a letter or part of a letter.

BEGIN:

Today we are going to work with words in sentences again. We know that a sentence is a group of words that gives us information.

ACT:

I am going to write a sentence on this chart paper.

[Write on a chart paper the sentence “Look at the sky.” Read each word as you write it.]

How many words are in this sentence? (four)

Let’s clap once for each word as I read the sentence.

How many times did we clap? We clapped four times because there are four words in our sentence.

EXPLAIN:

Remember, a sentence has a space between each word.

[Point to the space between each word.]

Here is a space, here is a space, and here is a space. The spaces tell us these are separate words.

[Point to each word.]

Here is our first word. Here is a second word. There is our third word. Here is our fourth word.

ASK:
  • What do you see at the end of the sentence? (period)
  • What does a period tell us? (we are at the end of the sentence)
EXPLAIN:

Let’s learn more about the letter B.

[Display letter B card.

If a child(ren) whose name begins with the letter B was identified on Day 2, invite the child(ren) to again pop up. Say the first name of the child(ren). Emphasize the sound of the letter B when you say the name.]

Maybe someone in our group has the letter b somewhere else in their name. The letter might be in the middle or at the end of their name. It will be a lowercase b and it will look like this.

[Point to the lowercase b on the letter card.]

Pop up if you have the letter b somewhere else in your name (not at beginning).

[If a child has the letter b somewhere else in his/her name, point to the name and to the letter b on the list of children’s first names so all children can see the name and the letter b.]

ASK:

Who remembers our word that begins with the letter B? (book)

ACT:

The letter B says /b/ just like in the word “book.” /b/, /b/, book. Let’s say that together: /b/, /b/, book.

I have two pictures of things that begin with the letter b. I wonder what they could be.

[Hold up one picture card and invite children to identify the animal/item in each picture. After children have an opportunity to guess or say the pictured animal/item, point to and say the word written at the bottom of the card. Example: “This word says bear. The letter b is at the beginning of the word.” Repeat this procedure with a second picture card.]

Let’s think about some other words that start with the letter B and write them on our chart. Remember, the letter B says /b/, /b/.

[Help children by suggesting other words that start with b. Examples: bat, beaver, bull.

Invite one or more volunteer children to find the letter b on the chart. Children may point to the letter at the top of the chart and then find it in one of the words below.

Demonstrate and describe how to make the uppercase letter B on your chart paper.]

We use three lines to make an uppercase B. One line goes up like this. Another line is curved like this. The third line is curved like this.

[Give each child his/her letter journal.]

Now we are going to write the letter B in our letter journal. Please write the uppercase (big) letter B in your journal. Write as much of the letter as you can.

RECAP:

Today we learned more about a sentence. We remembered that a sentence is a group of words that gives us information.

We also learned that the letter B says /b/ just like in the word “book.” We made the uppercase (big) letter B in our letter journal. Let’s say together the sound the letter B makes (/b/).

Scaffolding tips

Scaffolding Tips

Extra support

  • Write and say a second short sentence on the chart paper (example: “We like to bake cookies.”) and lead children in counting the number of words. Point out the spaces between words and lead children in clapping once for each word. Also point out the period and remind children this small dot means the end of a sentence. Repeat the sentence and ask children which word begins with the /b/ sound.
  • Use one or both of the picture cards not selected for inclusion in the main activity to help children understand the first letter of the pictured animal or item.
  • Show children longer and shorter sentences in a book. Count the number of words in each sentence.
  • After demonstrating how to make an uppercase B, turn your back to children and lead them in making the letter B in the air with their arms and hand.

Enrichment

  • Encourage children to write the first letter of their name at the bottom of their paper. Some children may be able to write more than the first letter. Be sure to positively recognize all forms of writing including scribbles, letter-like scribbles, and initials.
  • During the use of picture cards, ask whether the first letter of the word on the card is an uppercase or lowercase letter.
  • Some children may be interested in your demonstrating and describing how to make a lowercase b. Example: “We use two lines to make a lowercase b. One line goes up like this. The second line is curved like a circle.”

Center Activity

Invite children to look for single words and sentences in the classroom. As children find sentences, ask them to show you where the sentences end. How do they know?

Family Child Care

Family Child Care

Practice words and letters during outdoor play. Say aloud a simple 4–5 word sentence. Write the sentence with sidewalk chalk where children can see it. Invite children to hop, jump, or kick each time you say a word. Invite school-age children to hop, jump, or kick for each letter as they spell their name aloud. Children may also enjoy working in pairs as they pat their hands together for each word in a sentence or letter in a word.

Week 7:
Day 4

Counting Things

Mathematics

Small Group

Skill and Goal

Number knowledge
Children will follow verbal requests for counting actions.

Materials
Needed

None

Key
Concepts

Review:

  • Count

Also
Promotes

  • Self-Regulation

BEGIN:

Let’s count to seven on our fingers. We know that when we count, we say our numbers to find out how many. Let’s hold up each finger and count each one as we go along. We know to stop counting when we get to number seven.

[Lead children in counting to seven on their fingers.]

EXPLAIN:

Let’s learn a counting poem that we can say with our fingers. It’s called “One Banana.”

ACT:

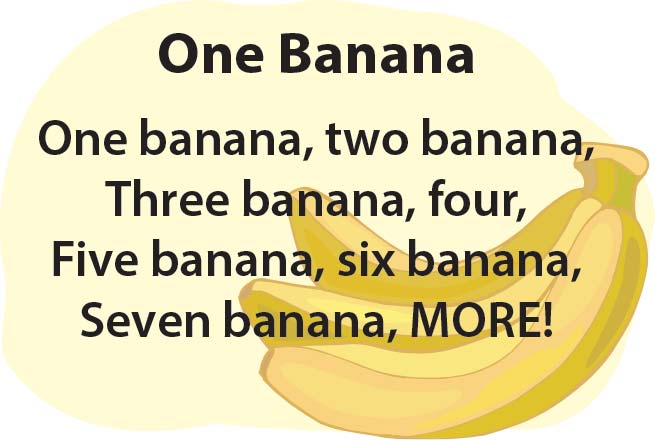
[Teach “One Banana” and encourage children to use their fingers while they recite the poem. Hold up one finger each time a banana is counted.]

How many bananas do we have? (seven)

Today we will play Simon Says. We need to listen carefully to the numbers Simon uses in his requests. I will be Simon. Let’s practice.

  • Simon says stomp two times.
  • Simon says clap four times.

[When you play Simon Says, use only the number of actions that children can readily reach. Each action should include a number. Keep the actions the same during this introductory use of the game. You may wish to mix actions, such as jump two times and clap one time, at a later point when children have mastered the basics of the game.]

RECAP:

Today we learned a counting poem. What did we count? (bananas) We also played Simon Says. Simon used numbers when he asked us to do something. We counted as we did what Simon asked us to do.

Scaffolding tips

Scaffolding Tips

Extra support

  • If children have difficulty doing the Simon Says requests, start with groups of one or two actions.

Enrichment

  • After reciting “One Banana,” explain that some of the words in our poem rhyme. Remember, when words rhyme they sound alike at the end of the word. What number in our poem rhymes with the word “more”?
  • Invite several children to take turns being the leader of Simon Says. Encourage the leader to use the same action but change the number of times it is to be done.
  • If children are readily following the number requests, add challenge by asking children to stand still if Simon does not say “Simon says” with the request. Example: “Jump one time. Did you jump one time? Simon didn’t say to jump one time!”
Mathematics

Center Activity

In the block center, encourage children to build a structure with a given number of blocks. Then, encourage children to build two or more structures with an equal number of blocks. Invite children to count the blocks in each structure together. Are they equal?

Family Child Care

Family Child Care

Play Simon Says with all children in your setting. Split children into two groups. Preschool-age children can be asked to do 2–4 actions and school-age children can do more actions.

Week 7:
Day 4

Appreciating Our Families

Social Studies

Large Group

Skill and Goal

Family diversity
Children will deepen their understanding that all families are unique.

Materials
Needed

  • Paper—1 per child
  • Drawing tools

Key
Concepts

Review:

  • Family

Looking Ahead: Make plans for family members to visit for two different family-related topics in the near future. First, invite family members (parents, elders) with strong cultural identities to help you introduce the topic of cultural differences across families on Week 9, Day 4. If this is not an option, invite a center or installation staff member with a strong cultural identity to help you explore this topic with children on Week 9, Day 4. Consult with this resource person(s) in advance of the visit to determine a plan. For example, visitors may wish to tell children where their family elders were born, how special holidays or events are celebrated, and bring an item to describe and maybe place in the classroom’s Family Culture Shelf (see Week 9, Day 4). Arrange for a translator, if necessary. Take several pictures to display in the classroom after the event.

Second, invite a member(s) of all families to participate in a Family Share Day on Week 9, Day 5 to help strengthen children’s understanding of how families are unique. Encourage family members to talk about what their family likes to do together. They may wish to bring an item that is special to their family. If the item represents a specific culture, the item can be placed in the Family Culture Shelf (see Week 9, Day 4). You may wish to organize several Family Share Day occasions if you anticipate a high level of participation. Arrange for a translator, if necessary. Take several pictures to display in the classroom after the event(s). Suggest that families unable to attend may wish to read a book with their child about family cultures. One possibility is: Families in Many Cultures by Heather Adamson.

BEGIN:

We are learning many things about families. We know that a family is a group of people and all families are unique.

EXPLAIN:

Today we are going to make a class book about a special thing you like to do with someone in your family. You will each get to draw a picture of you doing something special with someone in your family. Then you will have a chance to tell us why it is special. When we are done with our pictures, we will put them together to make a book.

ACT:

[Give each child a piece of paper and drawing tools. Invite children to draw pictures of themselves doing something special with someone in their family. As children draw, ask them why it is special. Take dictation at the bottom of the page.

When the children have finished, compile the pages into a book.]

RECAP:

Today we talked more about what makes our families unique. We drew a picture of ourselves and a family member doing something that is special.

[If time permits, invite children to describe their page of the class book.]

Scaffolding tips

Scaffolding Tips

Extra support

  • Encourage children who find drawing to be a challenging task to use circles and/or lines to represent a face/body.
  • Demonstrate for children how to describe their page with others, if necessary.

Enrichment

  • Ask children to tell more about the activity. Examples: “How does it work?” “How often do you get to do this activity?”
Social Studies

Center Activity

In the housekeeping center, encourage children to pretend they are members of a family or supply dolls that can act as family members. If available, add multicultural clothing or play food items.

Family Child Care

Family Child Care

Teach all children in your setting the following song. As you sing the song say a child’s name and then invite the child to end the song with the name of someone they live with. You may also wish to invite school-age children to share the book Families, Families, Families! by Suzanne and Max Lang with preschool-age children.


We All Live in a Family
(Sing to the tune of “Here We Go Round the Mulberry Bush”)


We all live in a family,

a family, a family,

We all live in a family,

and ___ lives with ___.

Week 7:
Day 4

Moving Our Bodies

Physical / Health

Large Group

Skill and Goal

Motor development
Children will strengthen their locomotor skills for hopping.

Materials
Needed

  • *Footprint template (see Be Prepared)
  • Masking tape or similar tape
  • Item for signals
    *Printables provided

Key
Concepts

New:

  • Hop
  • Balance

Review:

  • Forward
  • Backward

Also
Promotes

  • Self-Regulation

Be Prepared: Use the provided template to cut out 12 footprints. Arrange the footprints on the floor of your activity space, using the pattern shown in the illustration. Provide two sets of the pattern, if space permits. When you space the footprints on the floor, keep in mind that the four footprints are a guide for walking and the two footprints are a guide for taking two hops. Also, children may move beside the path, not on the actual footprints.

BEGIN:

We are practicing different ways to move our body. We know how to walk, march, and gallop. Today we will practice another way to move our body.

ACT:

[Use one foot/leg to demonstrate hopping.]

ASK:

What am I doing? (hopping)

EXPLAIN:

[Demonstrate as you describe the following:]

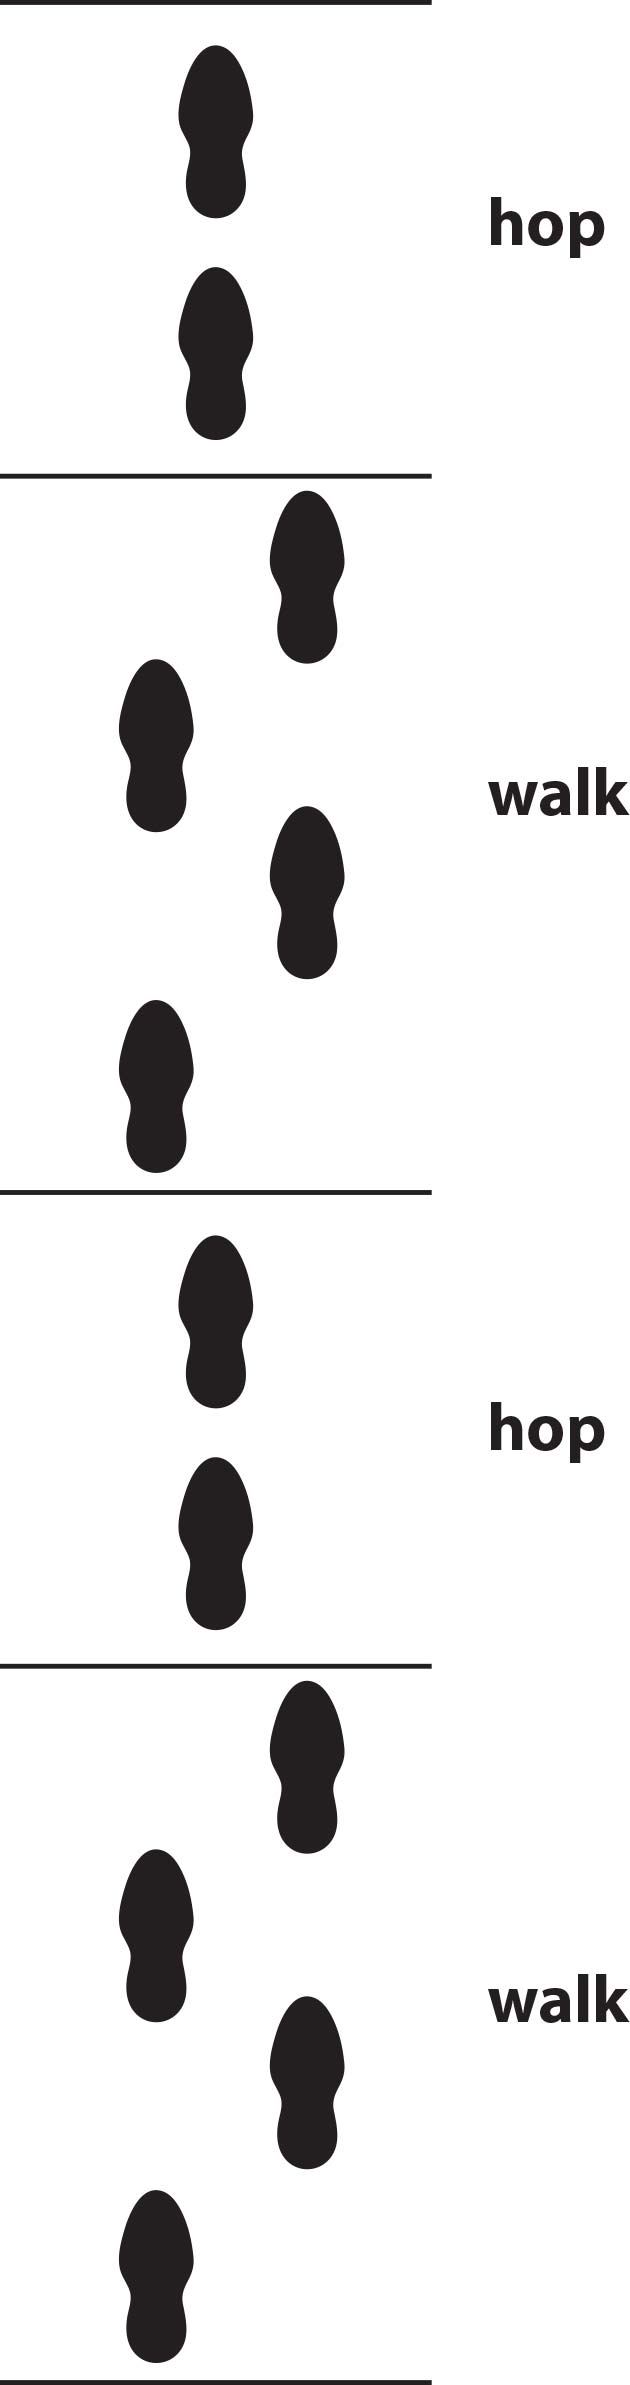
Please look closely at what we do with our body when we hop. When we hop we move our body with one foot and leg. We use the same foot and leg to go up and down. We lift our other foot and leg off the ground. We keep the other foot and leg off the ground while we hop.

We can hop in one place. We can hop forward or backward. Hopping backward is more difficult.

Now let’s move up and down on the same foot and leg. We will lift our other foot and leg into the air. This is how we hop. We will hop in our personal space. Try not to go forward or backward when you hop. Listen for our “start” and “stop” signals.

ACT:

[Offer a “start” signal and provide guidance as children practice several hops. Provide less than a minute for the practice. Offer another demonstrated explanation if necessary.]

Now let’s practice hopping on our other foot and leg. Let’s hop again in our own personal space. Try not to go forward or backward when you hop on your other foot and leg.

[Offer a “start” signal and provide guidance as children practice several hops on the other foot/leg. Provide less than a minute for the practice.]

ASK:

Was one of your two legs easier to hop on? Which one?

EXPLAIN:

A big part of hopping is learning to stand on one foot and leg without falling. We may use our arms to balance our bodies so we do not fall. When we balance something we keep it steady. We may move our arms a little bit to help us keep our balance. We will not fall over if we balance our bodies.

ACT:

Now let’s practice hopping forward. Pay attention to people around you so you do not bump into anyone. Listen carefully for our “start” and “stop” signals. Let’s hop two or three times.

[Provide guidance as children hop forward two or three times.]

ASK:
  • Is it easier to hop forward or to hop in one place?
  • Would you like to try hopping backwards two or three times?

[Provide guidance as children hop backwards two or three times. Remind children to look over their shoulder to make sure they will not bump into someone when they hop backwards.

Point to the footprints on the floor as you describe the following:]

EXPLAIN:

Let’s practice walking and then hopping. There are footprints on the floor that tell us what to do. The four footprints tell us to walk. The line tells us to change the way we are moving our body. The two footprints tell us to hop on one foot.

ACT:

[Demonstrate the pattern as shown on the floor. Children may walk and hop alongside the pattern, not on the actual pattern, if you wish.

Invite children to follow the pattern, one at a time. It is not necessary to use the “start” and “stop” signals. After each child has a turn, you may wish to encourage children to hop on a different foot the second time through the entire pattern or to change the foot used for hopping in the second hop sequence in the pattern.]

RECAP:

Today we practiced hopping. We talked about how our body moves when we hop. We put together walking and hopping by following a path.

Scaffolding tips

Scaffolding Tips

Extra support

  • Explain that hopping is not the same as jumping. We use both feet/legs when we jump. We use one foot/leg when we hop.
  • If children have difficulty balancing their bodies when they hop, move to a wall and encourage children to place one hand on the wall to provide support while they lift one foot in the air and hop on the opposite foot.
  • In the explanation of balance, encourage children to stand on one foot/leg (no hopping) and pay attention to whether they move their arms to keep their bodies balanced (so they do not fall).
  • Offer a reminder of the meaning of “forward” (moving toward what is in front of us) and “backward” (moving toward what is behind us).

Enrichment

  • When using the footprint pattern, encourage children to hop on a different foot the second time through the entire pattern or to change the foot used for hopping in the second hop sequence (the second set of hop footprints).
  • Invite children to switch feet/legs when they practice hopping forward and backward.
Physical / Health

Center Activity

Consider developing a more complex pattern of footprint arrangements outdoors by adding marching steps. Example: two footprints = hop, three footprints = march, four footprints = walk.

Family Child Care

Family Child Care

Involve all children to play Simon Says. Incorporate walking, marching, galloping, and hopping movements. Directions could also include moving fast or slow.