New:
Review:
[Display letter Y card.]
What is the name of this letter?

[Point to the uppercase letter Y on the letter card.]
Am I pointing to the uppercase or to the lowercase letter Y?
Review:
Today we are going to read a book that will help us practice counting. It is a silly story. The book tells about farm animals and fish that take a trip to a lake while their farmer is taking a nap!
[Display book cover.]
Our book is called Click, Clack, Splish, Splash: A Counting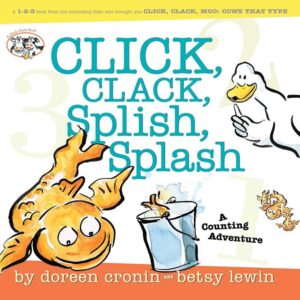 Adventure. Our book was written by Doreen Cronin. It was illustrated by Betsy Lewin.
*Printables provided
New:
Review:
[Display chart and point to the different types of lines as you describe each, especially in the question below.]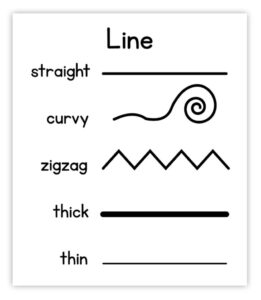
We are learning how artists may use lines to create their art. We have made straight lines, curvy lines, and zigzag lines. Yesterday we made thick lines and thin lines.
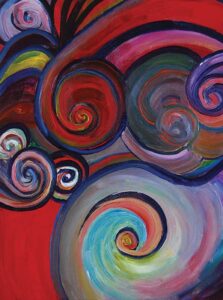
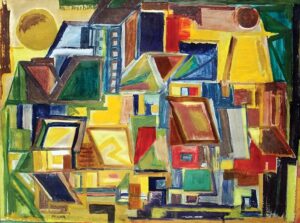
Let’s find out how lines are placed in two of the paintings we have looked at this week.
[Display the two pictures of paintings, one at a time, and encourage children to find and describe line placements. Use questions, such as the following, to guide discussion:]
[Follow-up prompts, if needed: “What is the painting about?” “How do the lines help show something?”]
Being Responsible
Social-Emotional
Skill and Goal
Personal responsibility
Children will identify characteristics of safe and unsafe situations.
Materials
Needed
*Printables provided
Key
Concepts
Review:
[Display book cover.]
Yesterday we read a book called Be Careful and Stay Safe. What is one thing we can do to stay safe at home or somewhere else?
Today we are going to talk about some pictures of children in different situations. Some of the situations are safe. Other situations are not safe. Remember, safe means we do not get hurt or sick or get into danger.
[Display a “thumbs up.”]
This is a “thumbs up.” We learned that giving a “thumbs up” is a way to give someone a compliment.
Today we will use a “thumbs up” when we see a picture of a child doing something that is safe.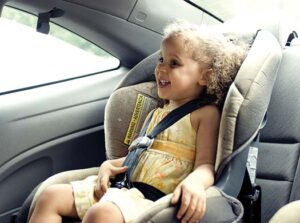
[Display a “thumbs down.”]
This is a “thumbs down.” A “thumbs down” is a way to say we don’t like something.
Today we will use a “thumbs down” when we see a picture of a child doing something that is not safe.
Scaffolding Tips
Extra support
Display and discuss selected illustrations in the Be Careful and Stay Safe book to help children strengthen their understanding of safe and not safe situations, if necessary.
Enrichment
Encourage children to think of ways to stay safe that were not shown in the book or pictures. Include rules at home and in the community focused on safety.
Center Activity
Provide *pictures used in today’s activity. Invite children to sort the pictures into “safe” and “not safe” piles.
*Printables provided
Family Child Care
Remind children that a law is a rule made by people in charge of our community or country. Laws are made to keep people safe and to help us to treat people fairly. Encourage children to think of laws that help keep them safe in their community. Examples: cars stop at stop signs so we can cross the street, we throw away trash so people do not get sick.